Installing a mini split system is more than just a project; it’s an investment in your home’s comfort. If you’re in Grand Prairie, TX, you’ll want to make sure everything is done correctly for peak performance. From choosing the right location to connecting refrigerant lines, every step matters. Whether you’re a DIY enthusiast or considering professional help, understanding the process and having access to reliable HVAC services in Grand Prairie, TX, can make all the difference in ensuring your system runs efficiently. So, what tools do you need, and what’s the best way to approach this installation? Let’s break it down step by step.
Understanding Mini Split Systems
When you’re considering upgrading your home’s heating and cooling, understanding mini split systems is crucial. These systems offer a flexible solution for managing temperature in different zones of your home without the need for ductwork.
A mini split consists of an outdoor compressor unit and one or more indoor air handlers, allowing you to control the climate in specific rooms.
You’ll appreciate the energy efficiency of mini splits, which can significantly reduce your utility bills. Plus, they provide both heating and cooling, making them versatile year-round.
Installation is typically less invasive than traditional HVAC systems, saving you time and hassle.
Additionally, mini splits boast quiet operation, ensuring your comfort isn’t disrupted by loud machinery. For homeowners considering a ductless solution, professional mini split installation ensures your system is properly sized, installed, and optimized for maximum efficiency and comfort.
Choosing the Right Location for Installation
Selecting the right location for your mini split installation is key to maximizing its efficiency and effectiveness.
Begin by identifying the areas you want to cool or heat. Look for a wall space that allows for unobstructed airflow, ideally away from direct sunlight and heat sources. Avoid placing the indoor unit near furniture or drapes that could block airflow.
For the outdoor unit, choose a level spot that’s clear of debris and provides ample ventilation. Make sure it’s away from any trees or shrubs that could obstruct airflow over time.
Furthermore, consider accessibility for maintenance and repairs, placing it near a power source, if possible.
Lastly, think about noise levels; install the outdoor unit away from bedrooms or patios to minimize disturbance. Taking the time to choose the right spots will improve your mini split system’s performance and longevity.
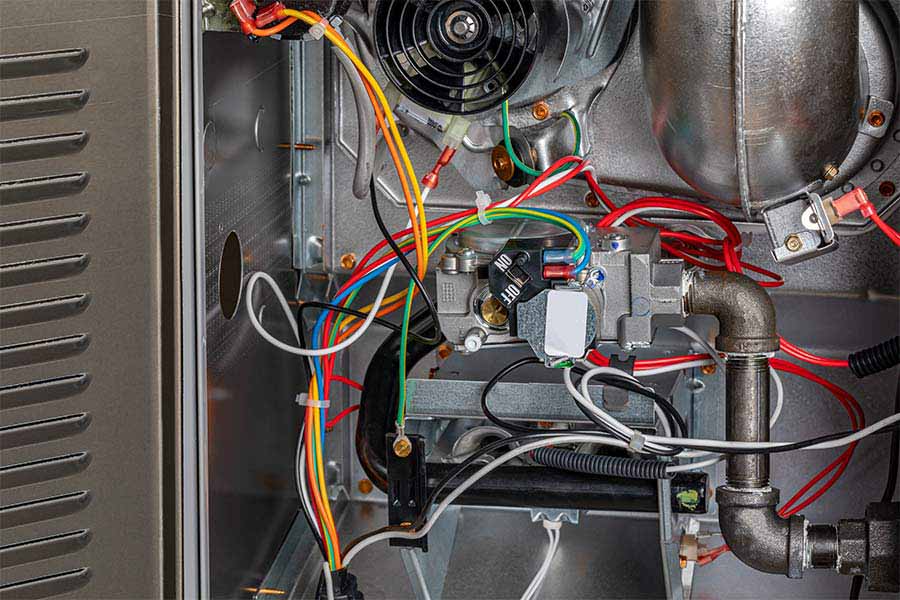
Required Tools and Materials
Before you plunge into installing your mini split, gather the necessary tools and materials to guarantee a smooth process.
Having everything ready will save you time and frustration later on. Here’s a quick list to get you started:
- Drill and Drill Bits: You’ll need these to make holes for mounting the indoor and outdoor units.
- Level: Confirm your units are installed straight and secure.
- Refrigerant Lines: These are vital for connecting the indoor and outdoor units.
- Electrical Wiring: You’ll need proper gauge wiring to connect your system to power.
Step-by-Step Installation Process
To install your mini split system effectively, start by choosing the right locations for both the indoor and outdoor units. Confirm the indoor unit is mounted high on the wall, away from direct sunlight and obstructions.
Next, mark the spot for the outdoor unit, ideally on a concrete slab or wall bracket, confirming it’s near an electrical outlet.
Drill a hole through the wall for the refrigerant line, confirming it’s slightly angled for drainage.
Now, run the refrigerant lines, power cable, and condensate drain through the hole. Secure the indoor unit to the wall bracket and connect the refrigerant lines and drain.
For the outdoor unit, connect the refrigerant lines and power supply, then secure it in place.
Once everything’s connected, vacuum the lines to remove air and moisture.
Finally, turn on the system and check for leaks, confirming everything runs smoothly before enjoying your new climate control. If you’re also looking to optimize airflow throughout your home, consider exploring custom ductwork solutions that can complement your mini split system.
Finalizing the Installation and Maintenance Tips
Once you’ve completed the installation of your mini split system, it’s crucial to finalize the setup with a few important steps to guarantee peak performance.
Follow these tips to make sure your system runs smoothly:
- Check for Leaks: Inspect all connections for refrigerant leaks. Use a soap solution to identify any bubbling at joints.
- Power Up: Turn on the system and test each mode—cooling, heating, and fan—to confirm everything functions properly.
- Set the Thermostat: Program your thermostat for ideal comfort and energy savings. Consider using a smart thermostat for added convenience.
- Regular Maintenance: Schedule routine maintenance checks. Clean filters monthly and have a professional inspect the system annually for peak efficiency.
Just like any HVAC system, your mini split will benefit from regular professional care. Consider scheduling AC repair and maintenance services to keep your system running at its best throughout the year.

Your Path to Year-Round Comfort
As you wrap up your mini split installation, think of it as planting a seed in your home’s garden. With the right care and attention, it’ll flourish, providing you with comfort throughout the seasons. Just like nurturing a plant, regular maintenance guarantees your system thrives and operates efficiently. By investing time now, you’re cultivating a haven that keeps your indoor environment just right, creating a sanctuary that breathes life into your living space. If you prefer to leave the installation to the experts or need professional guidance along the way, contact us for expert installation services from Minuteman Heating & Air—we’re here to ensure your mini split system delivers optimal comfort and efficiency for years to come.